
Adrian Bole, Senior Consultant / Strategic Partnerships Manager | June 6, 2020
So, it's been a couple of weeks (in blog time) since we set up Imperva to protect ITsecuritychina.com (gasp! We staggered the blog releases). The goal of today's blog is to protect our Imperva WAF portal login with multifactor authentication by enabling SSO to Okta. We'll be enforcing MFA in an Okta policy so we can deliver a consistent MFA experience across multiple applications.
To complete this blog you'll need:
Important! If you haven't created these two accounts and their usernames don't match, SSO will fail – Imperva doesn't just in time create users.
But before we kick off, let's see if there's been any interesting traffic since we setup the WAF last time.
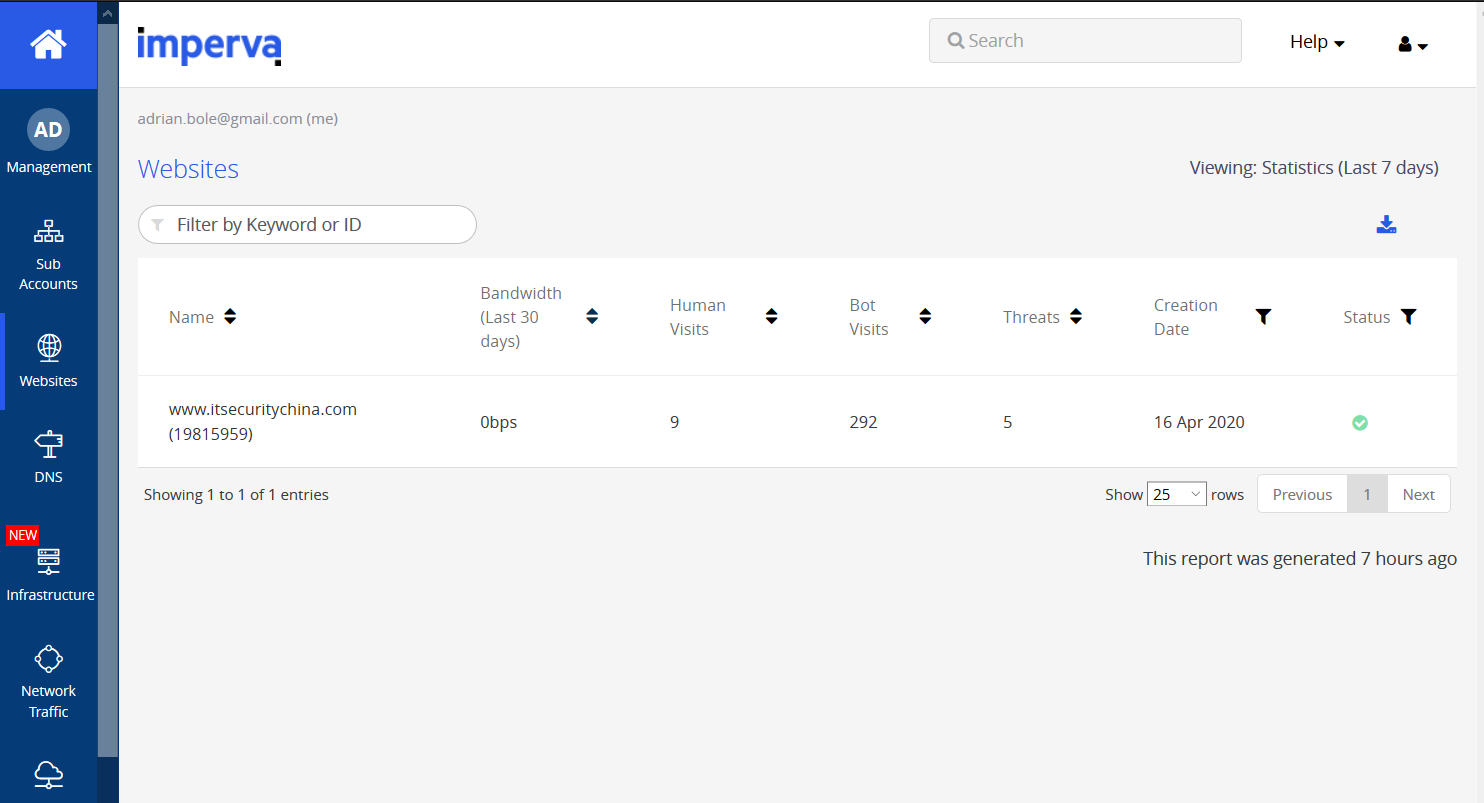
I've logged into my.imperva.com, clicked on my site and here's a snapshot of what Imperva is seeing.
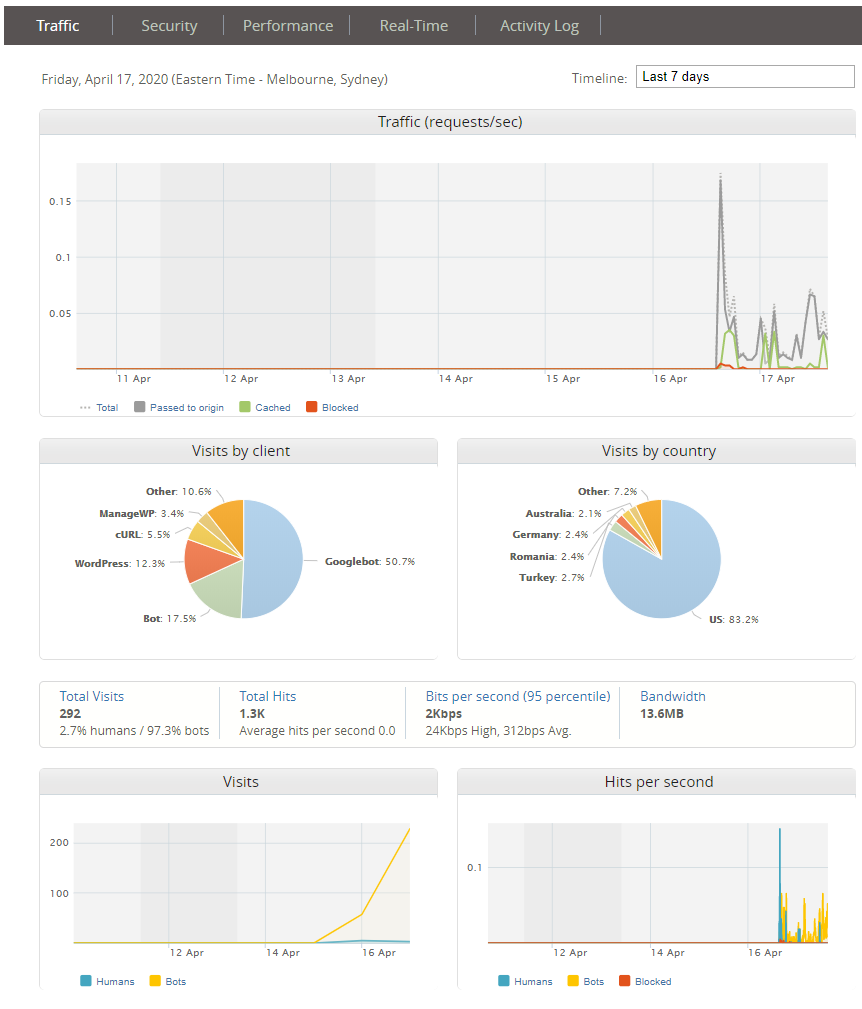
So not too much interesting stuff yet, but let's poke around. Itsecuritychina.com has never been the most trafficked site but it looks like the bots are ramping up their visits (unfortunately they aren't really interested in the content). Let's see what's happening on the security tab.
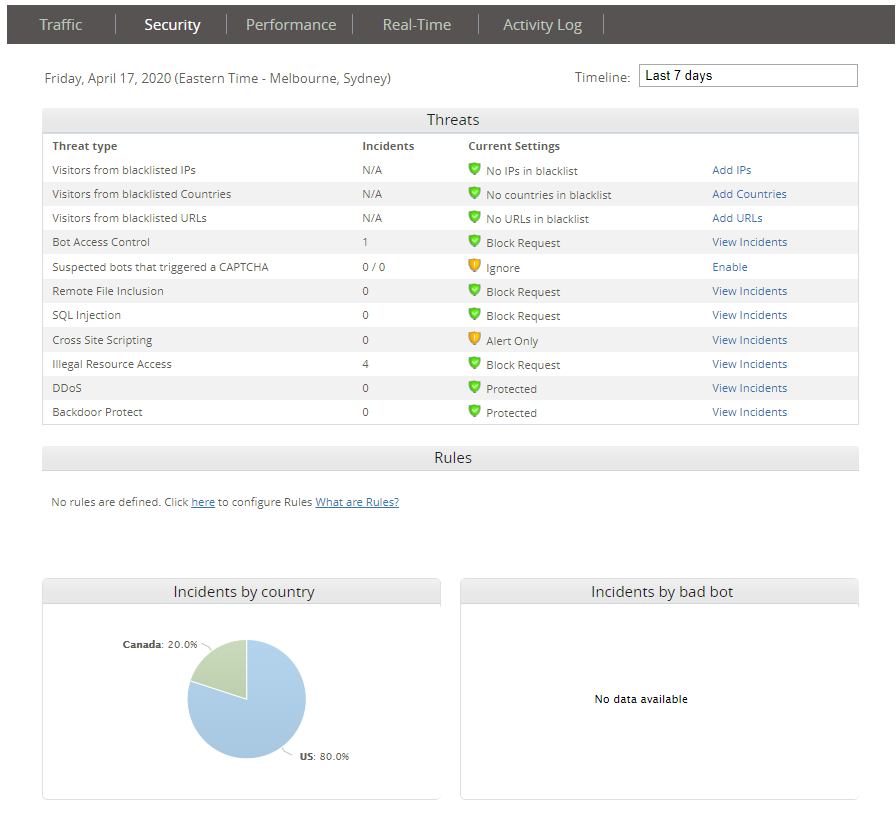
Hmm Pretty quiet here too. Those illegal acts resource access requests are probably managed WP requests from yesterday. But let's have a look at what that bot access control hit is.
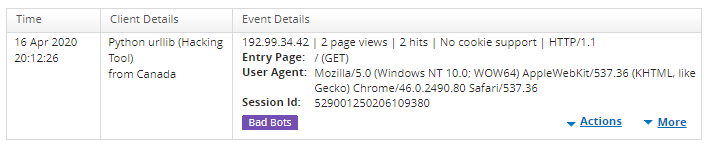
So, looks like that client IP is known to Imperva as it's been flagged as a python hacking tool. Given we've bottomed out anything vaguely of interest, let's get onto the enabling SSO and MFA.
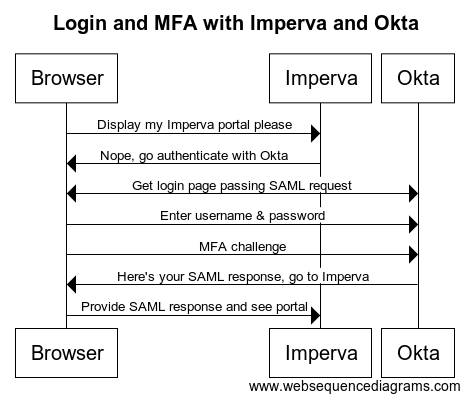
Here's a basic sequence diagram of what we are setting up:
The first step is to grab some settings from the Imperva portal to configure Okta.
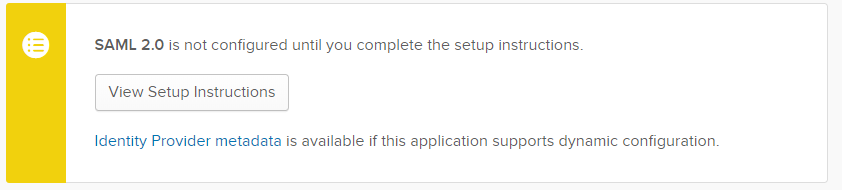
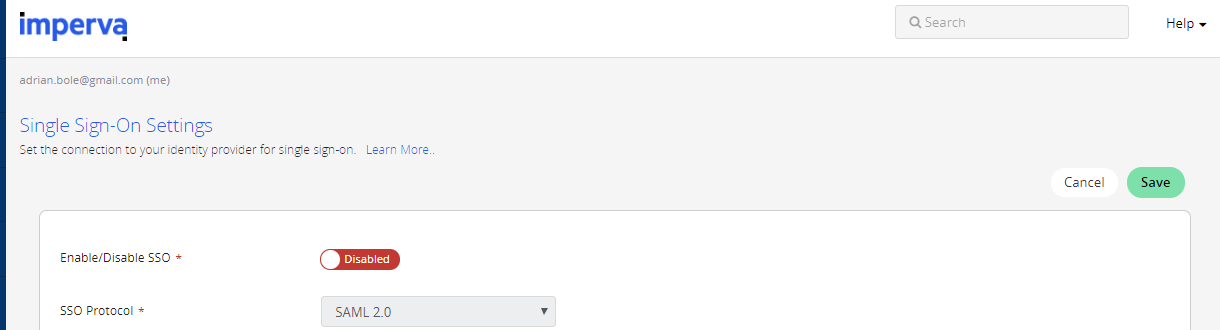
In your Imperva portal, login, click Management and then SSO settings. You should see a blank screen that looks something like this ...
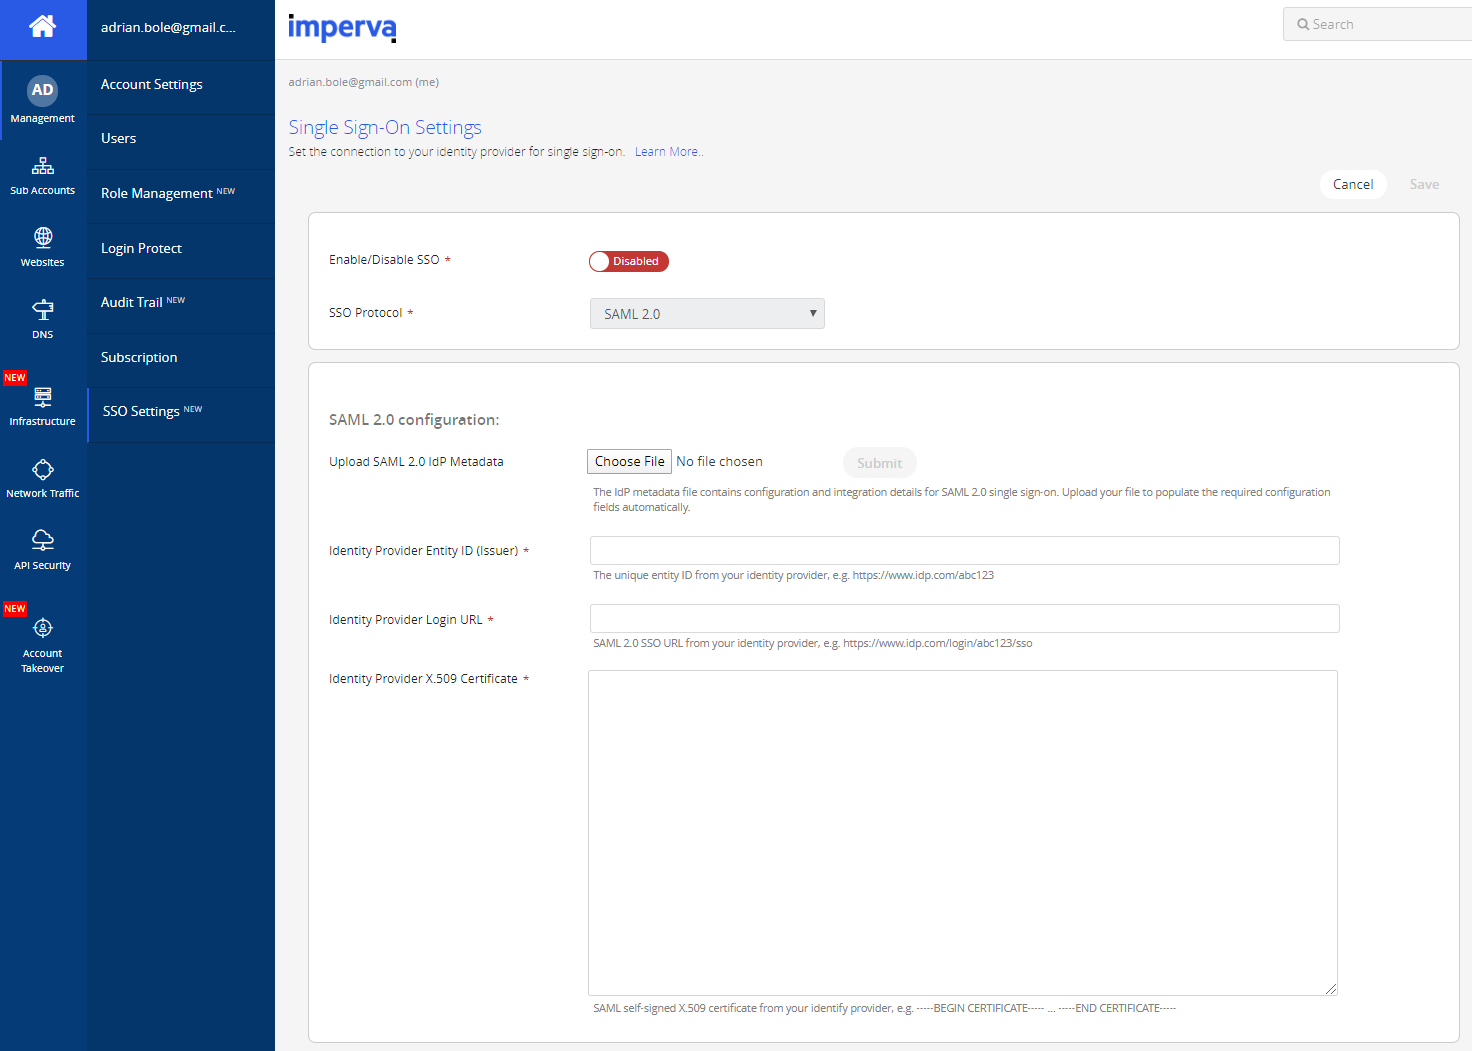
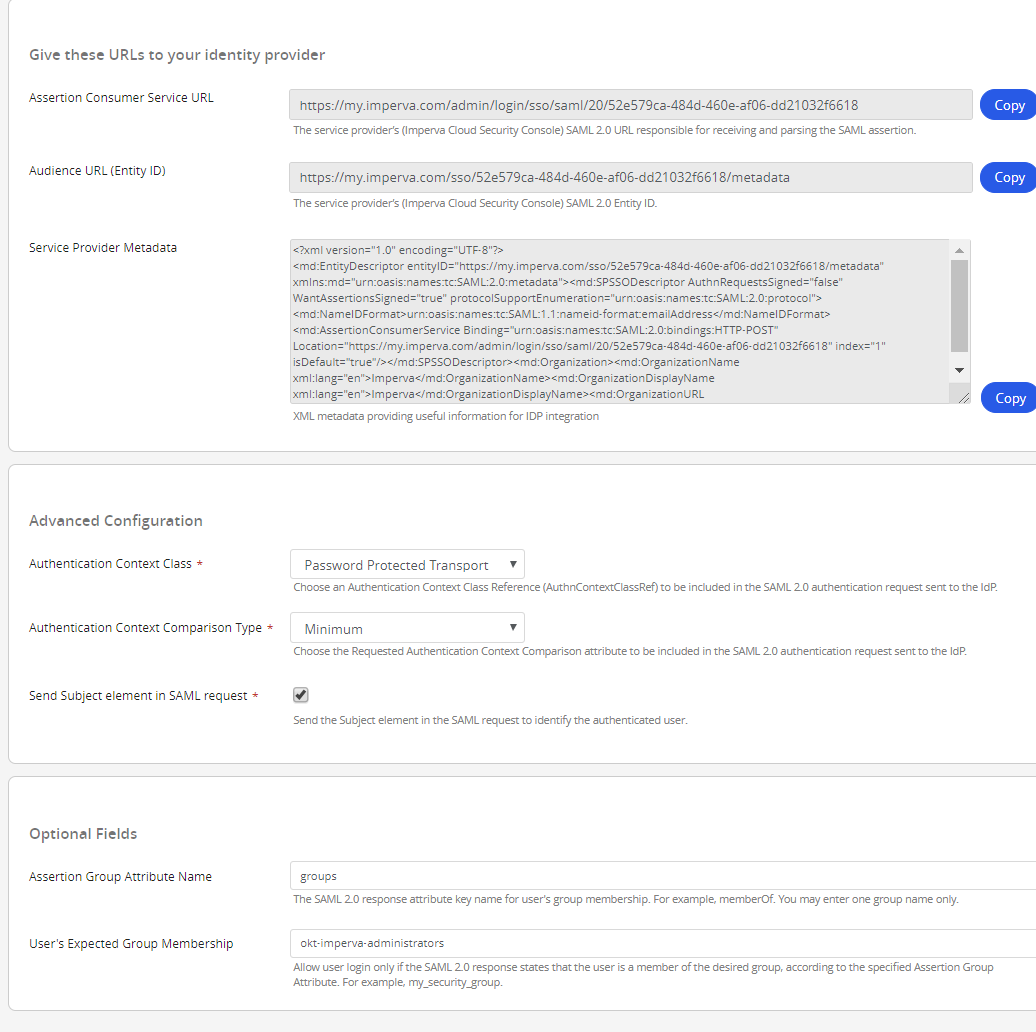
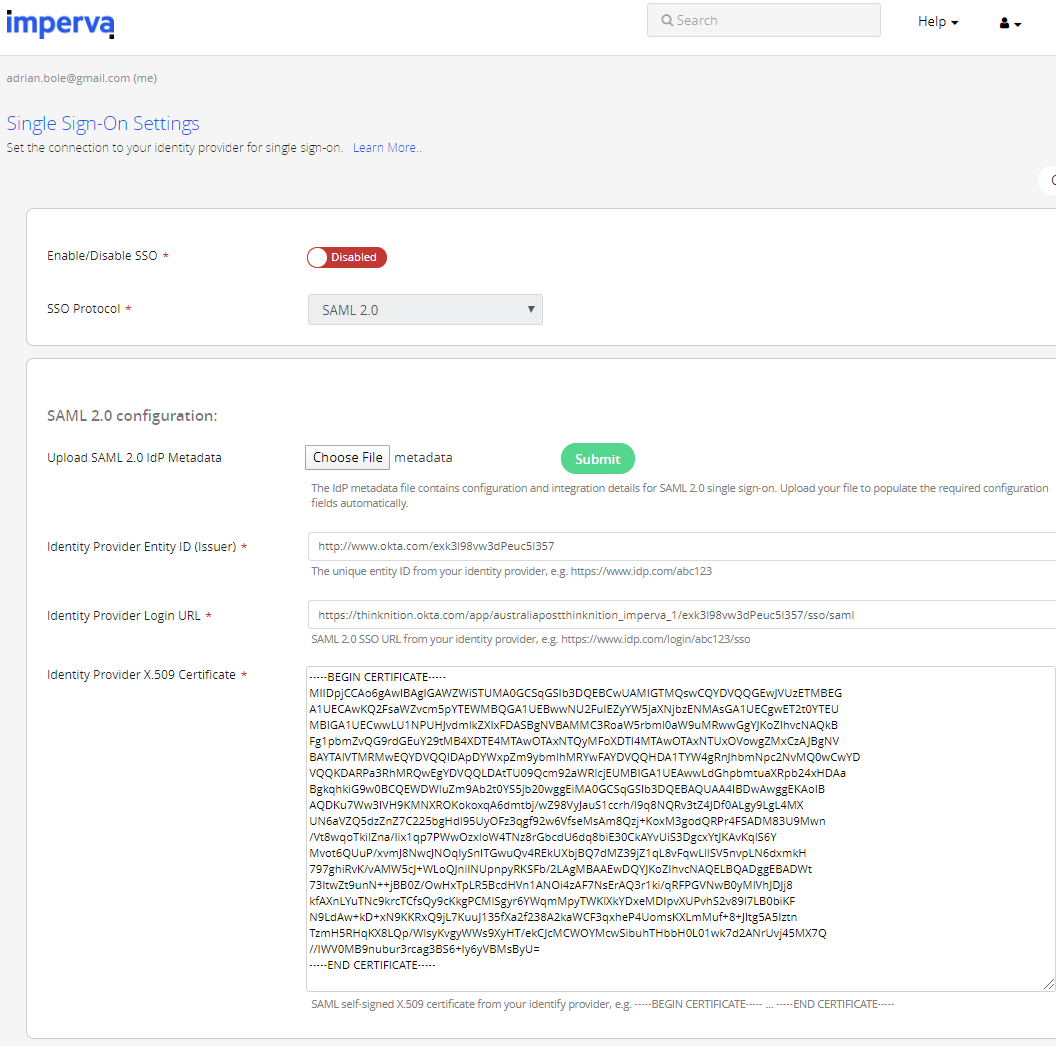
... but don't be fooled – if you scroll down, you'll see the service provider settings we'll need to configure Okta (our identity provider). Keep this page open and/or copy all the settings into your favourite text editor and keep them handy.
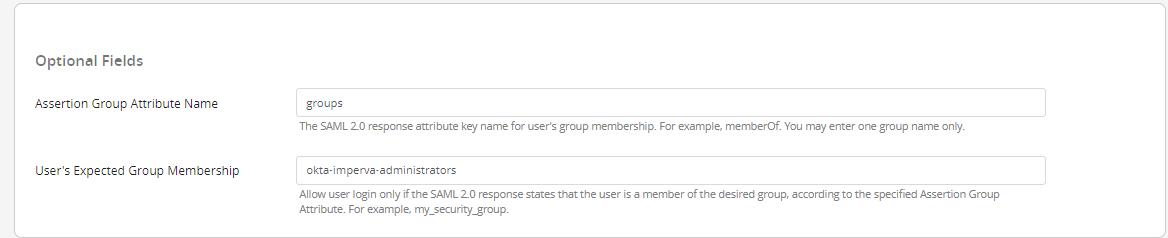
At the bottom here you'll see that I've set the Assertion Group Attribute Name to "groups". When Okta sends the SAML response it will include an XML attribute called "groups" which will itemise any groups that the user is a member of which pertain to this application. I've then set the User's Expected Group Membership all field to the group name okta-imperva-administrators. These two settings will help us ensure that not just anyone in our organisation can SSO across to the Imperva console and change settings.
Before you go, save the Imperva logo in the top left-hand corner of the portal locally (right click, save image or equivalent). We'll use it later in Okta.
Okay with settings in hand, let's jump into Okta.
Now let's jump into Okta and go to the admin console.
Click the Admin button (top right corner)

As we touched on earlier, we're going to restrict who in our organisation can access the Imperva console by group membership. We are going to create a group with the same name Imperva is expecting in the SAML response.
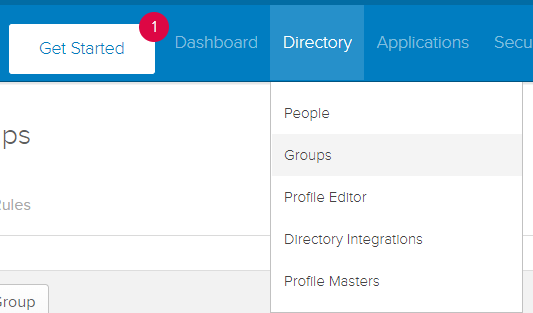
Hover over Directory, click Groups. On the Groups page click Add Group.
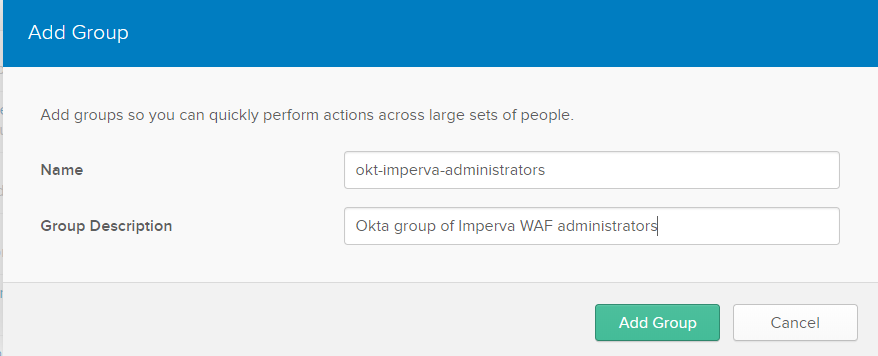
Enter group details to your taste.
For your copying and pasting convenience here is the name and description I used:
okt-imperva-administrators
Okta group of Imperva WAF administrators
Loosely the group name format I'm using here is a namespace to denote the directory which stores the group (e.g. OKT short for Okta), the name of the application that the group is for (Imperva) and then the role of the users for that group (Administrators). The directory prefix is handy if you sync groups into Okta from multiple directories (like Active Directories or LDAP).
Click Add Group and your group will exist. Let's put some users in it.
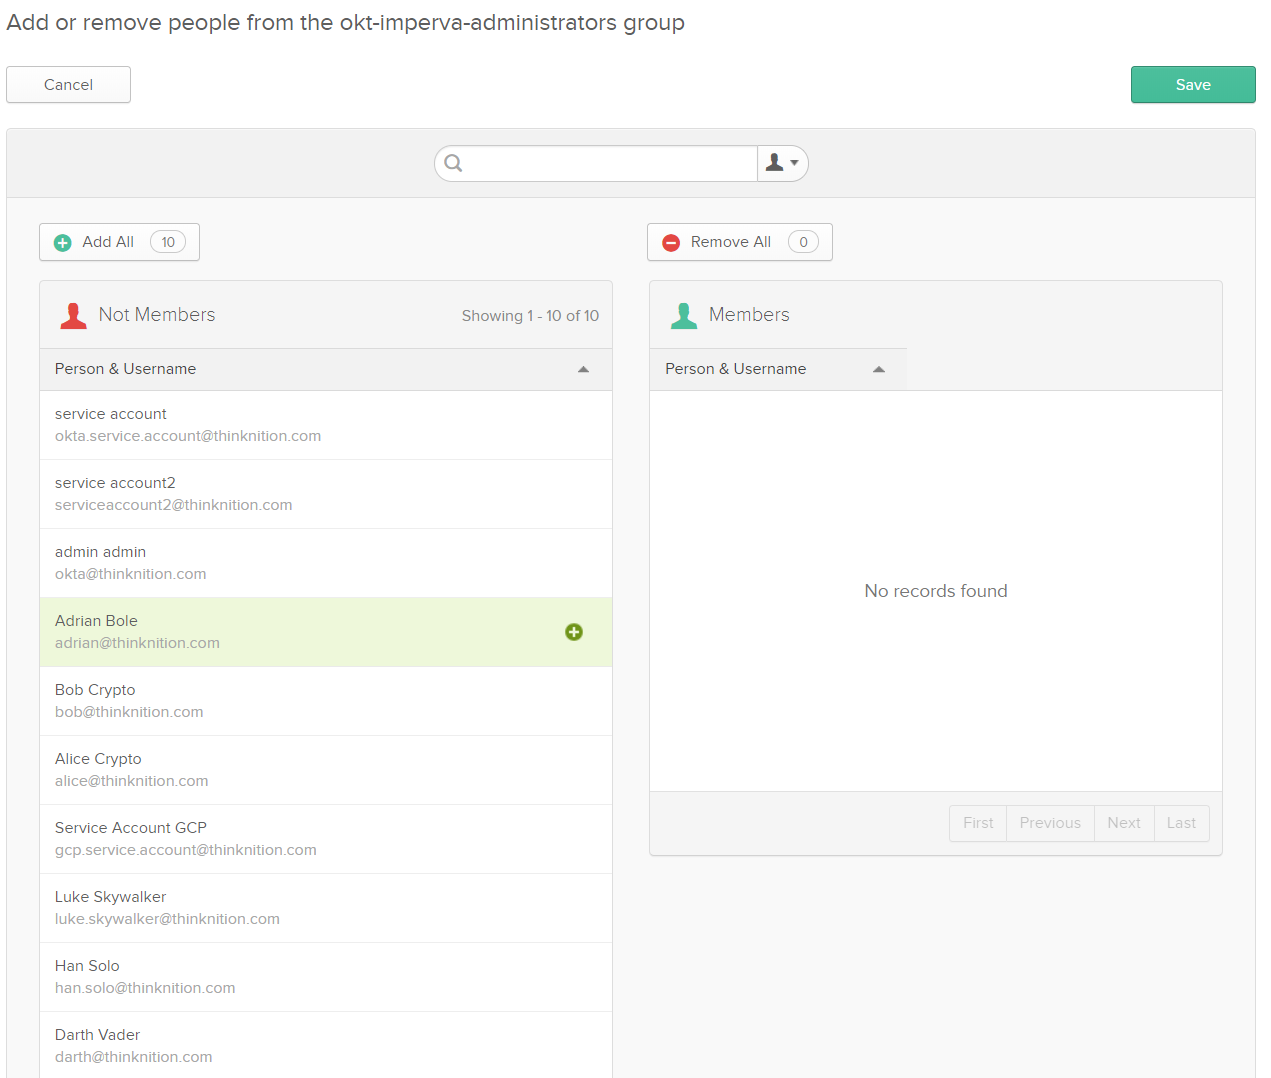
Click the group name and click Manage People. If you have a lot of users in Okta directory, search for each of the users who will be Imperva admins. If you've only got a few people like me, hover over the username and click the plus button. This isn't the most amazing UI – make sure your search has finished before you click the + or you could add everyone by accident.
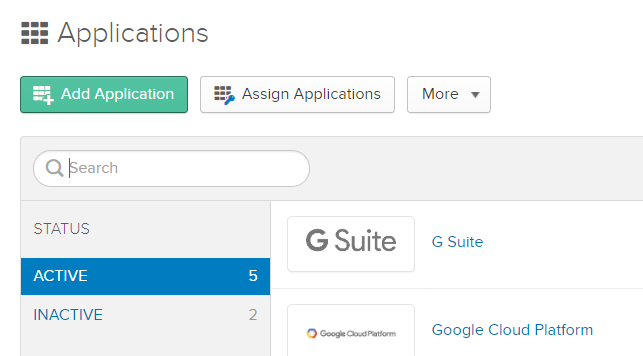
Okta has thousands of application templates in their Okta Integration Network (their equivalent to the Azure Marketplace) but unfortunately Imperva SAML is not one of them. Hover over Applications, then click Applications. Click the Add Application button then click the Create New App button.

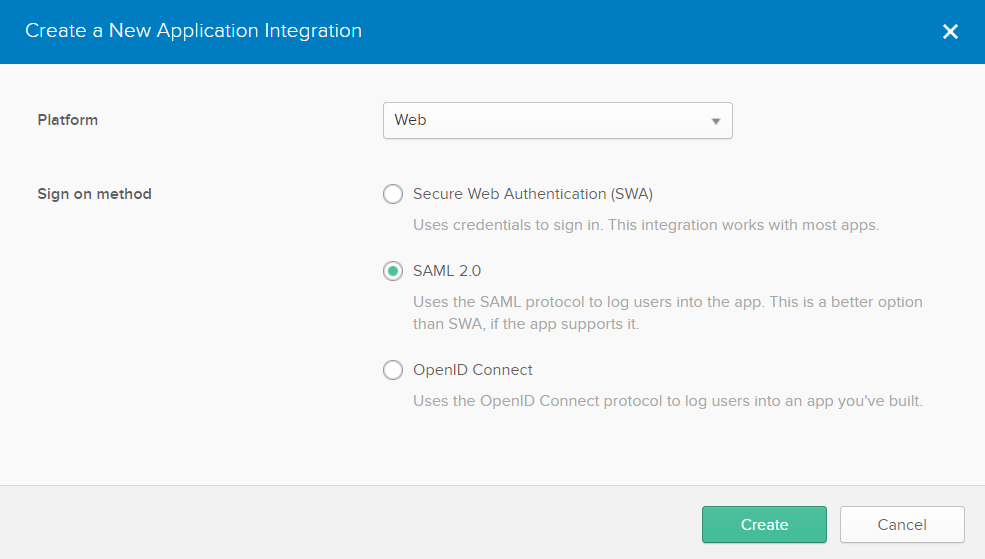
We will select Web (default) and then SAML 2.0. Click Create.
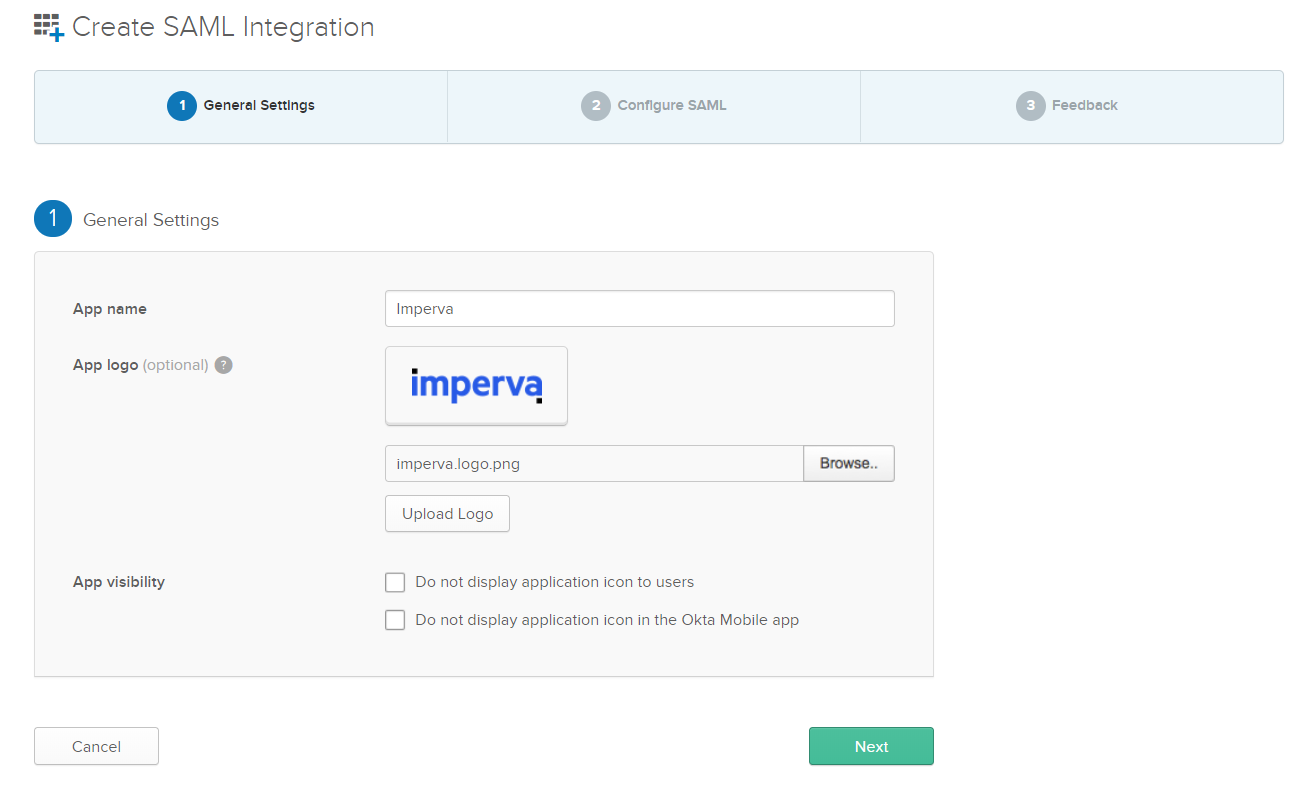
Give your app a name (I imaginatively called my Imperva) and upload the Imperva logo you saved earlier (you can use any logo you like though). Click Next.
Now it's time for some copying and pasting.
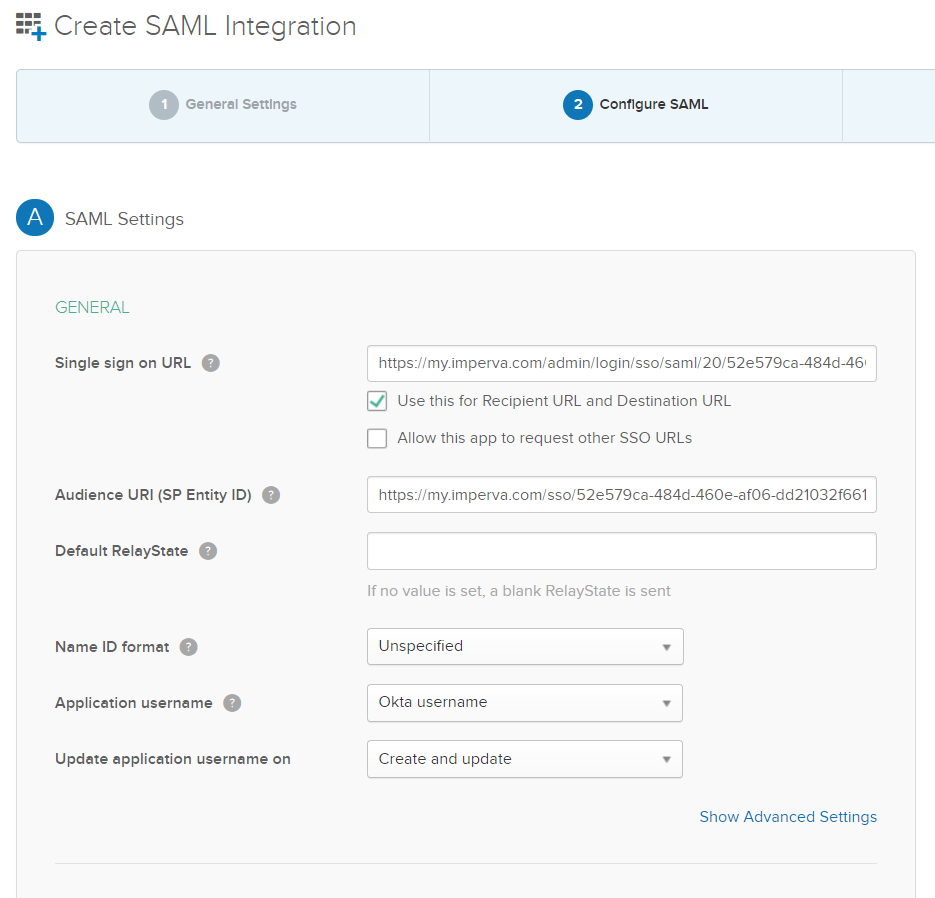
Copy the Assertion Consumer Service URL from Imperva and paste it into the Single Sign-On URL field in Okta.
Copy the Audience URL (Entity ID) field from Imperva and paste it into the Audience URI (SP Entity ID) field in Okta.
Then scroll down until you can see the Group Attribute Statements (Optional) section. We'll leave the other settings above as their defaults. Here is a little bit of that access control magic.
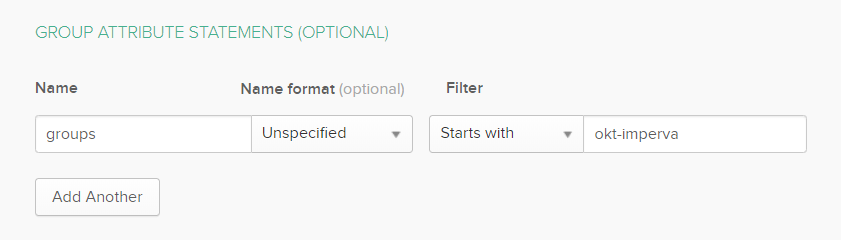
We set our group attribute name for the SAML response. This matches what Imperva is expecting. Now the filter is nice - so we've just specified 'starts with' for now and if I add any other OKT-Imperva groups in future they will also be sent back in the SAML response. By specifying this filter, no other groups will be sent back in the simple response, bloating the XML payload. A problem with historical web access management technologies was that they would stuff hundreds and hundreds of groups into their responses, blowing HTTP header limits and passing the job of filtering to the service provider. Always only pass the minimum required – it's just good practice.
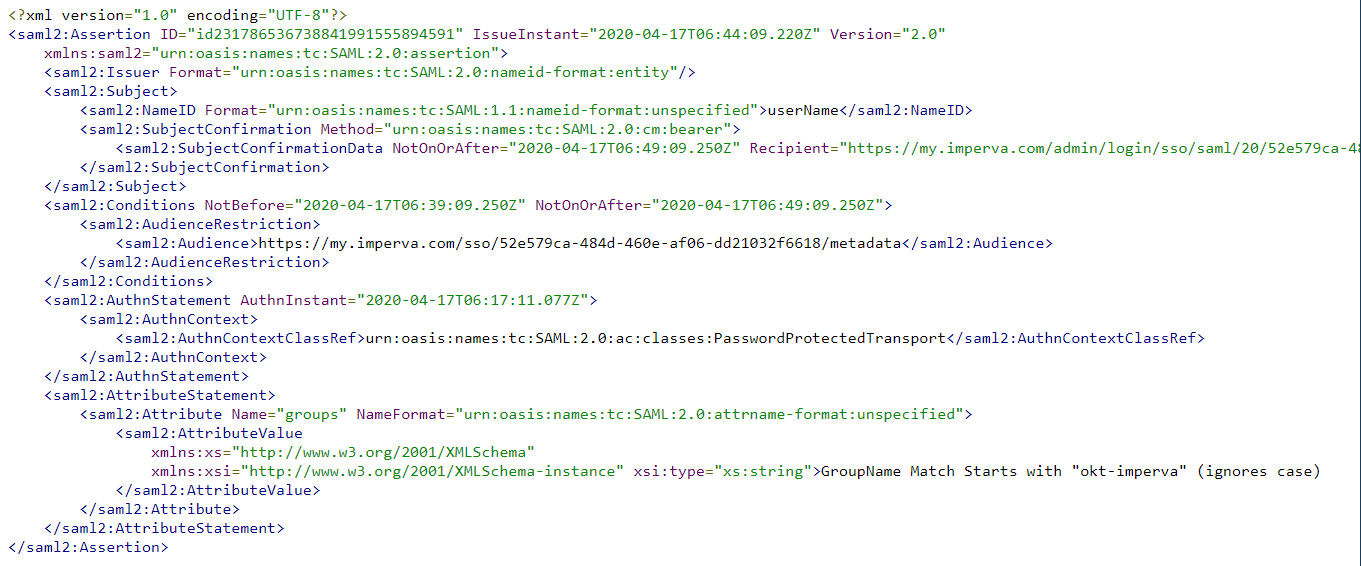
Click Preview and see what it looks like:
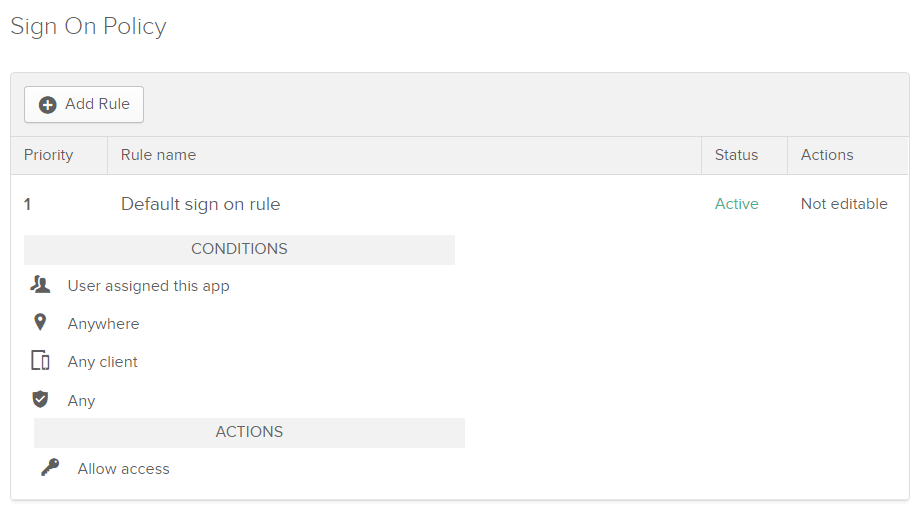
Click Next. I clicked I am an Okta customer radio button and then clicked finish (this survey gets annoying). So, the hard work is done (was that hard?) and we've got just a few more basic steps. Scroll down the page until you get to Sign On Policy and click Add Rule.
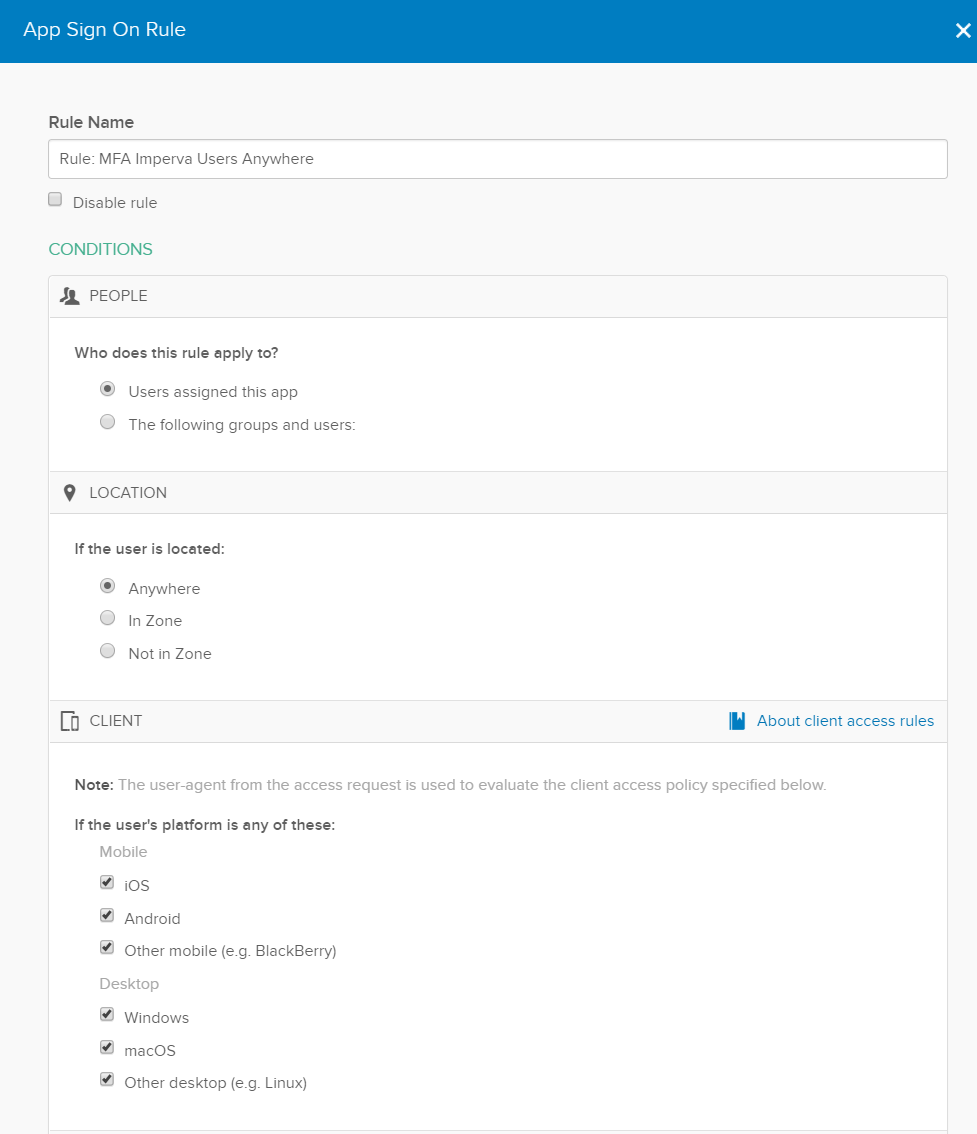
The rule we are going to set up is to enforce MFA for all Imperva users, regardless of their location. They will have to MFA every session (once every 2 hours or so when they access Imperva). Give your rule a name (e.g. Rule: MFA Imperva Users Anywhere) then leave everything below ticked. Scroll down to Actions.
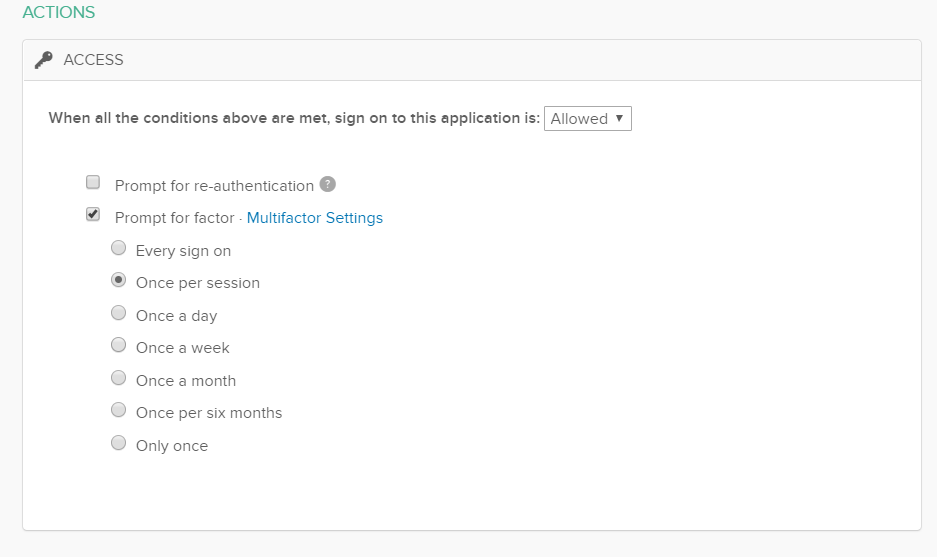
Click Prompt for factor then click the once per session radio button which forces MFA every 2 hours (Okta default session length – its configurable). We found with some clients forcing MFA every sign-on gets a little bit tedious. You could relax the MFA policy and have MFA a bit more infrequent, however, given this as an account which can administer the WAF which protects our important website, let's keep it a bit more frequent. Click save.
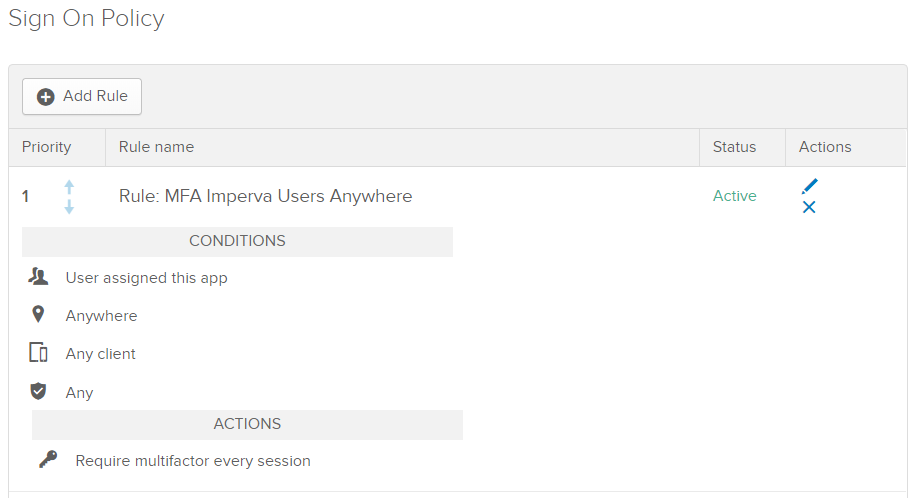
You should see your rule looking something like this:
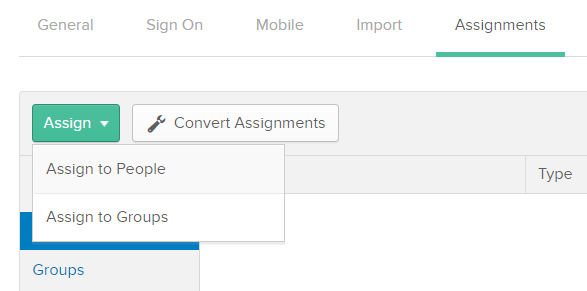
Last step - click the Assignments tab, click Assign, then click Assign to Groups.
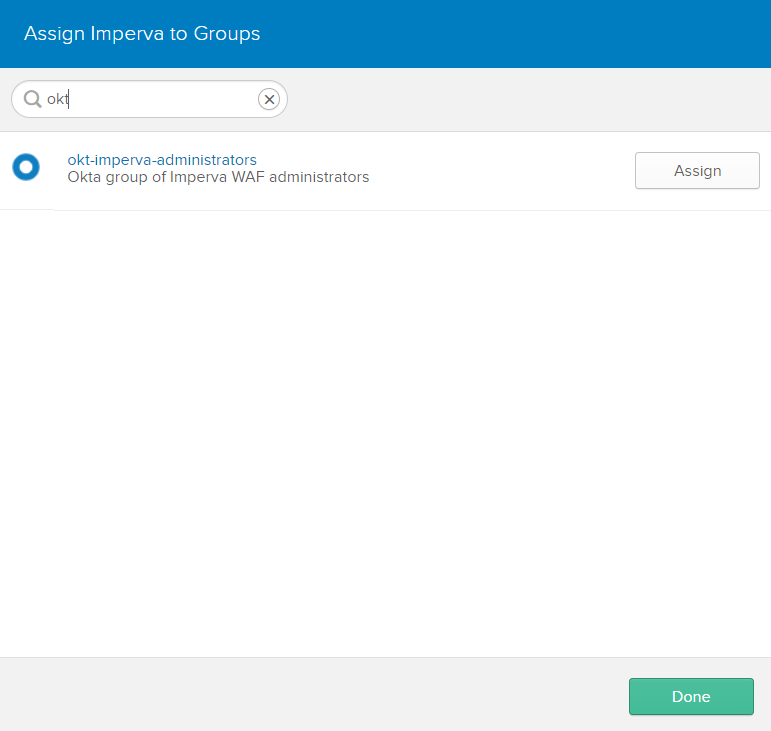
Enter your group prefix in the search box to more easily find the group you created earlier, and click Assign.
Before we go back to finish off the Imperva setup, click the sign-on tab. I like to open the setup instructions in another tab and you'll also need to download the IDP metadata (and remember where you put it) to configure Imperva.
Okay so we're back in the Imperva portal. Before you want to start updating your SSO settings refresh the page and make sure you've got an active session. It would be painful to get through all the settings click save and see a login screen.
Upload your IDP metadata, and click Submit. It should parse the file and automatically add the settings for you.
In the top right-hand corner, you should see a green save button. You know what to do.
(Make sure the Assertion Group Attribute Name and User's Expected Group Membership weren't wiped when you loaded the metadata.)
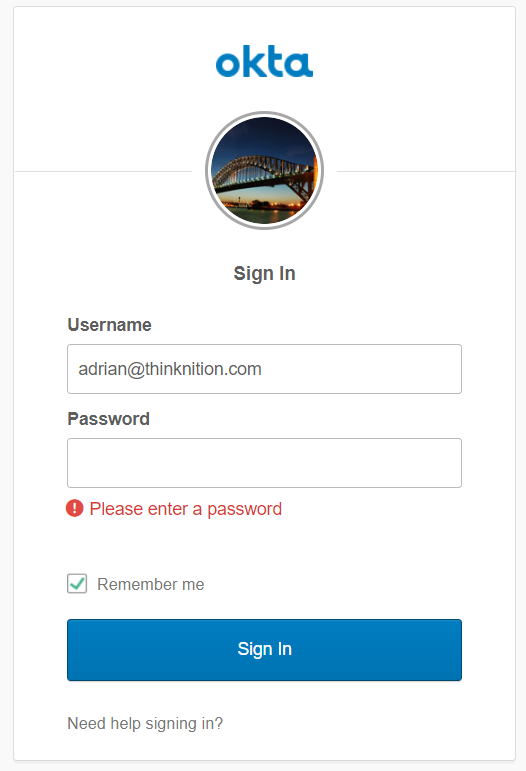
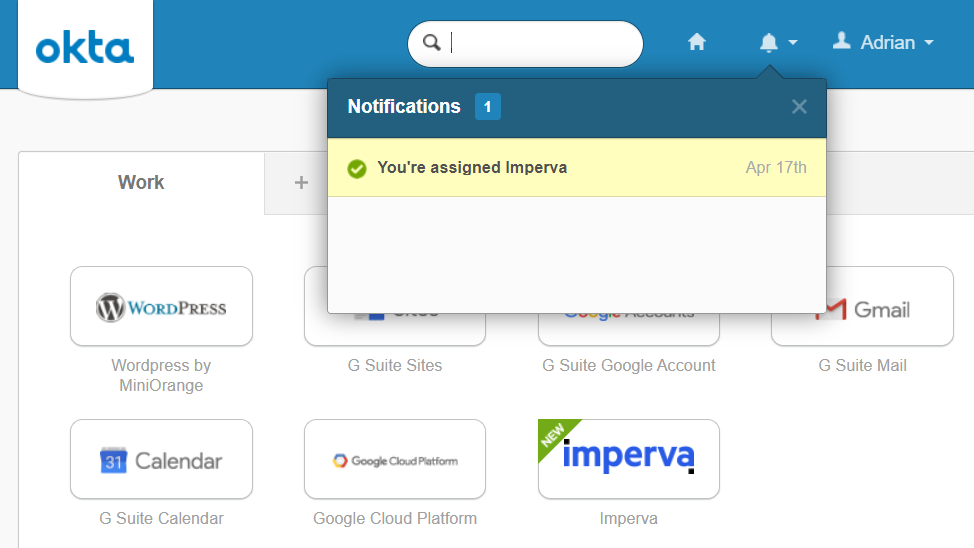
Let's see if it works! Open up an incognito window in your browser of choice and login to Okta as a user who is a member of our group. You'll see a nice little notification that you've been assigned Imperva.
If you click the Imperva tile you'll then be prompted for MFA.
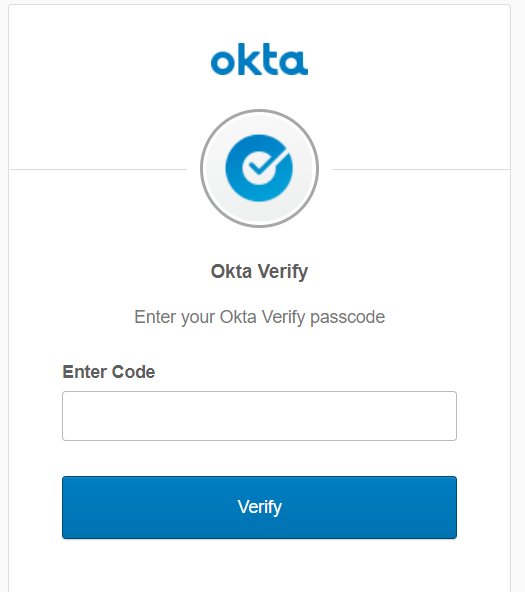
And success!
If you see an enlightened error such as (I did run into this a couple times)
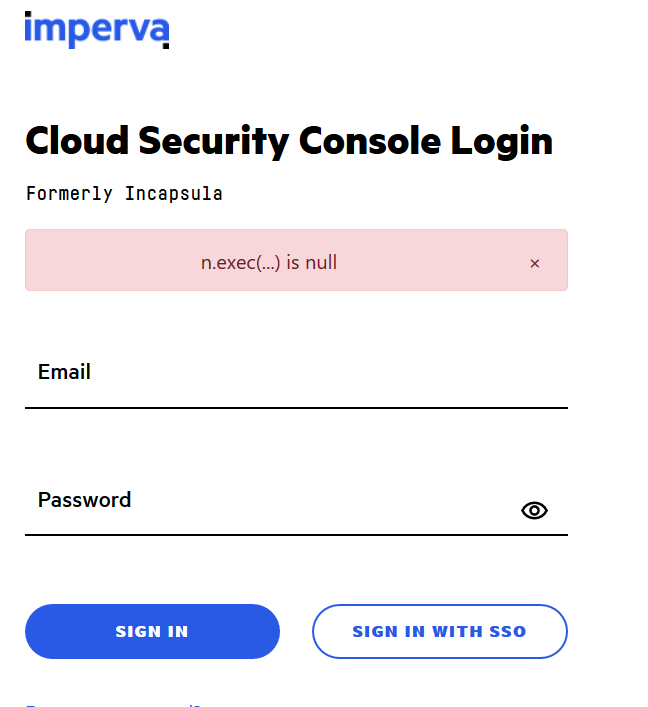
Two possible reasons are that:
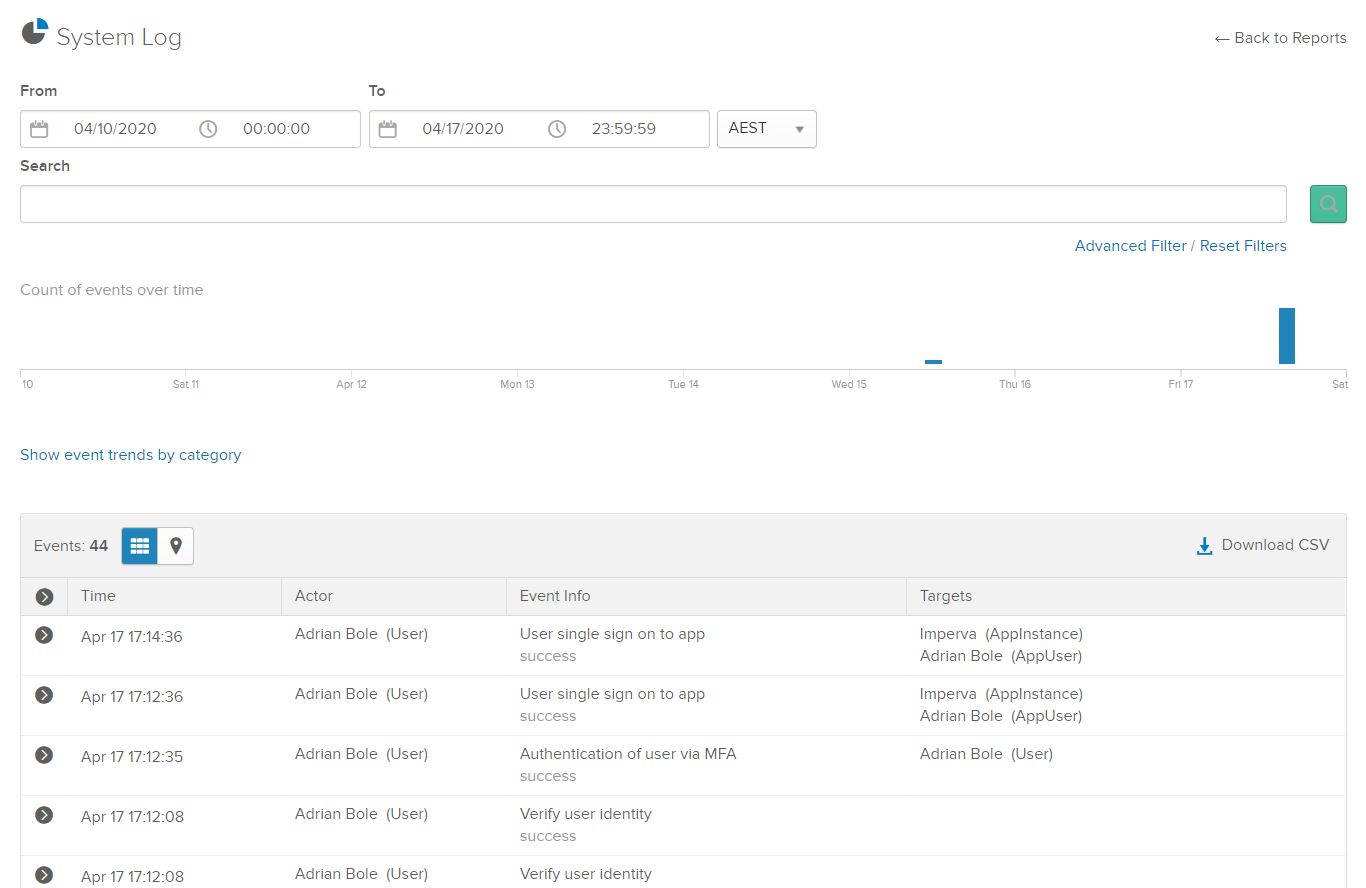
So, to narrow down where the problem is, check the Okta System Log. Everything looks ok here.
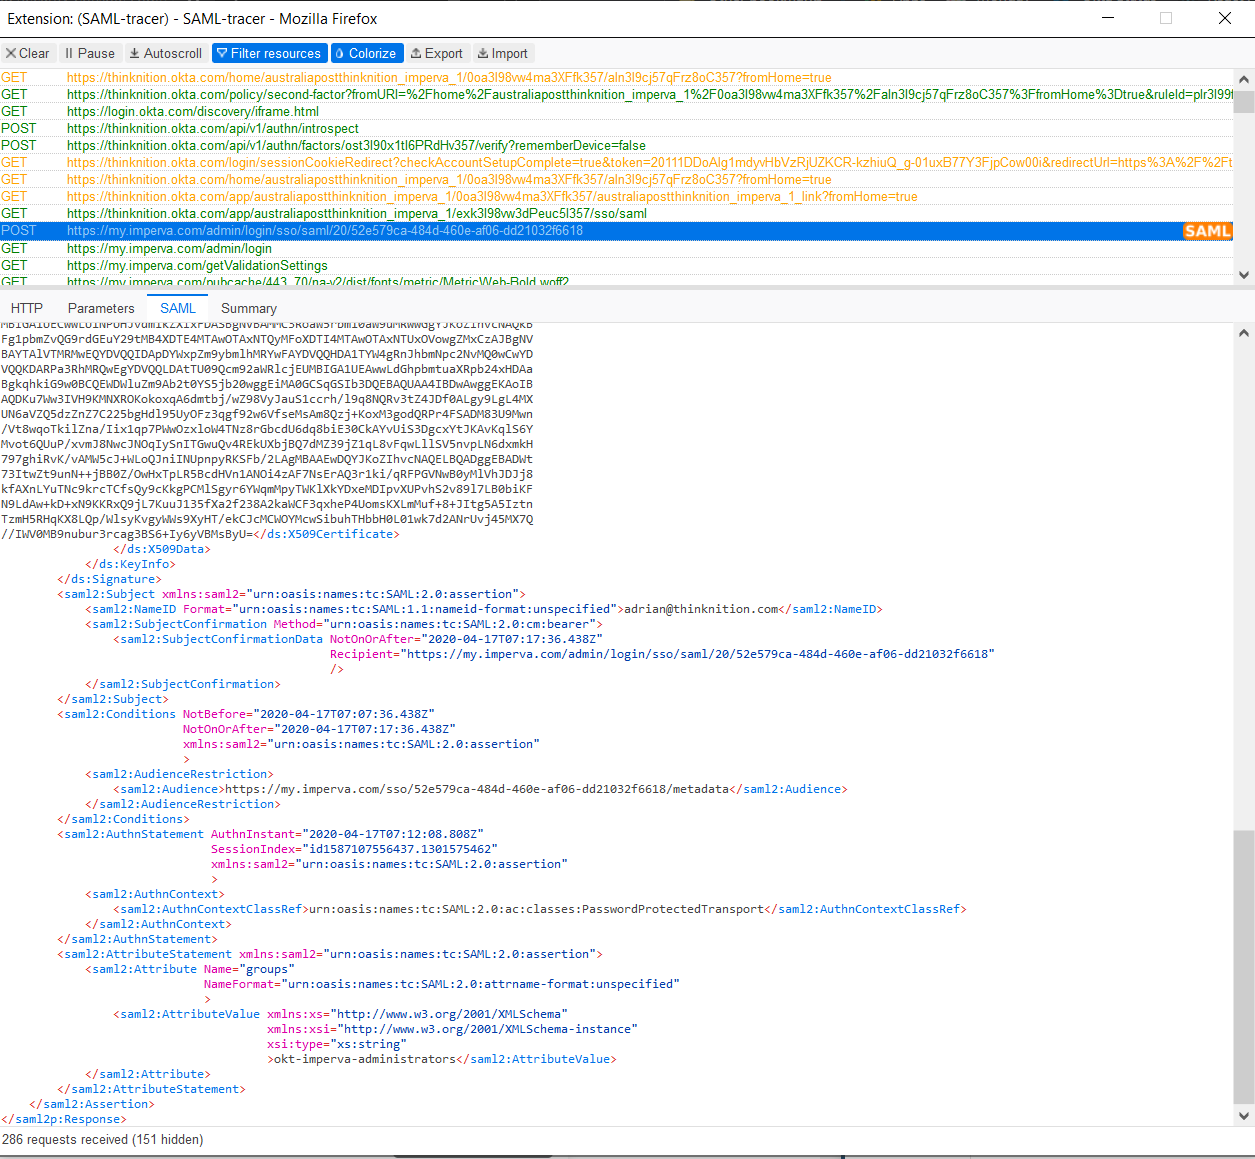
Check our SAML response (I'm using Firefox with SAML tracer here) includes the username in the name-id element, a groups element and okt-imperva-administrators. So that's all looking good.
Let's see if there's anything obvious in the Imperva log. Click Management then Audit Trail.

Ok, we have a lead. Our asserted group name in the SAML response looked good - let's check User's Expected Group Membership in the Imperva SSO settings.
It looks like I fat fingered the group name prefix – okta instead of okt.
Let's quickly fix the group name in Imperva and try again (you can just click on the tile in the Okta portal again and it will kick off an IdP initiated logon).
And success!
Unfortunately, nothing shows up in the Imperva audit trail when a user doesn't exist.
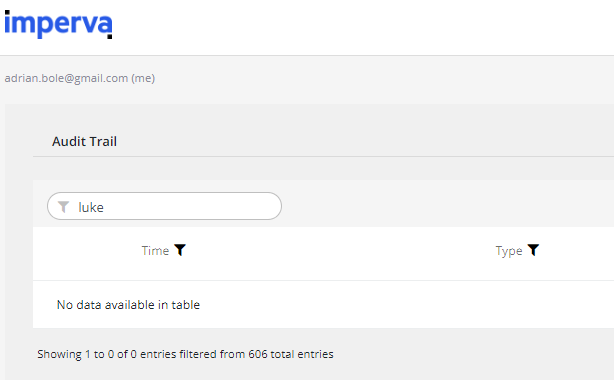
I had tried to SSO as Luke Skywalker, hence I searched for any references to Luke.
After creating Luke in Imperva, SSO worked.
Double check the username / UPN (aka email) is spelt the same in both places.
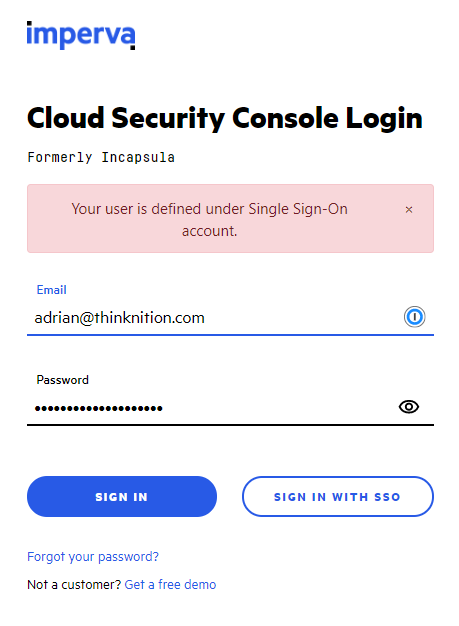
If you now try to login directly on Imperva with a username and a password it should now SSO (basically any account besides the core Imperva admin account), you should see an error like this.
Request a consultation with one of our security specialists today or sign up to receive our monthly newsletter via email.
Get in touch Sign up!